
Navigation
Random Favorite Product
Head Lamp
My new must have when working under a car.
Advertisers
1976 Corvette
Floor Pan Repair
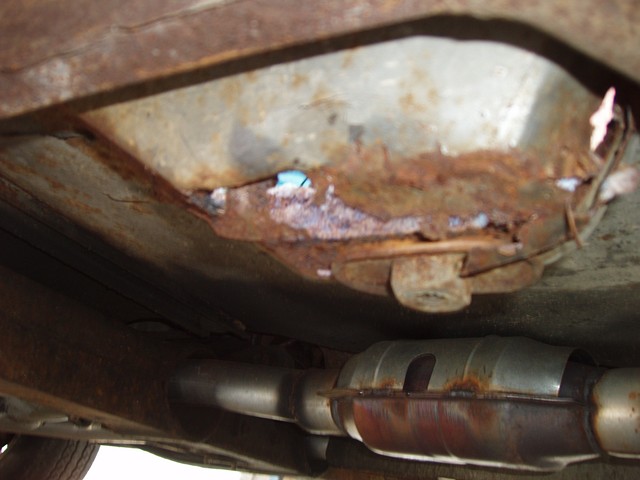
As other articles may have mentioned, I purchased the 1976 corvette from a guy up in Ohio. When a car is this old and it spends most of its life sliding about salt covered roads, it is safe to assume that there is rust damage hidden somewhere.
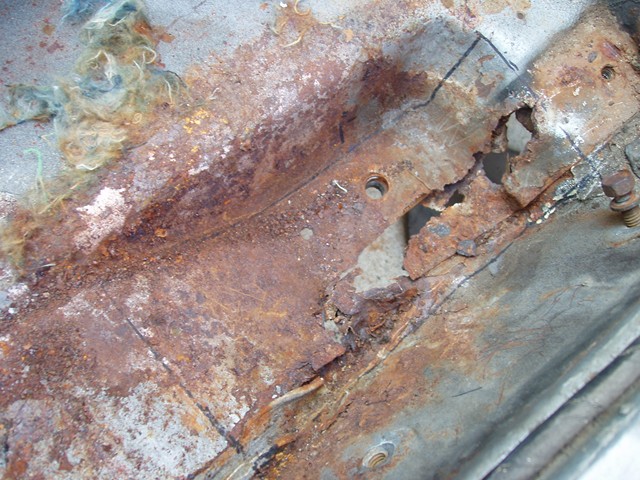
This project started out as a quick investigation into why the passenger side seat belt was seized. I removed the seat and noticed that not only was the seatbelt pocket rusted out, there were also multiple rust holes in the floor pan.
Luckily, the seized seat belt was fixed easily by using a wire brush to remove the surface rust and then coated it in lubricant to aid the reel in proper operations. I was not quite as lucky on the floor pans though. After removing the passenger seat and all remaining carpet, I realized that both seatbelt pockets and under the petal area on the driver side had severe rust damage.
To start off, I marked the areas that I wanted to be removed and covered all interior parts for grinding.
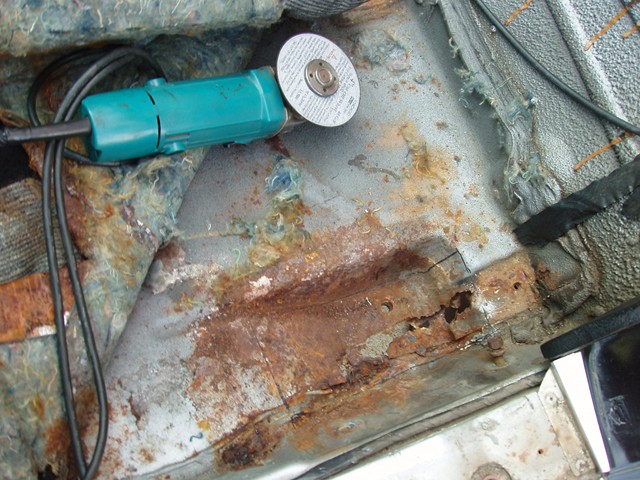
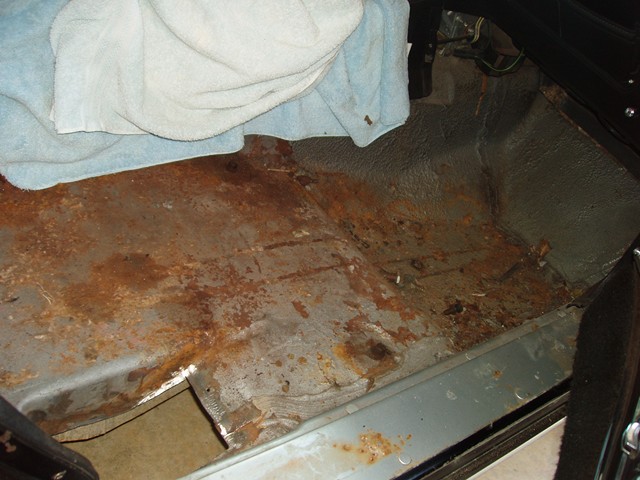
The diver side pedal looks worse than it really was but the metal was starting to weaken. My guess is that this was caused by years of having snow melt off of the driver's boots, or possibly a weather strip leak where water collected here seeing as it is the low point of the car.
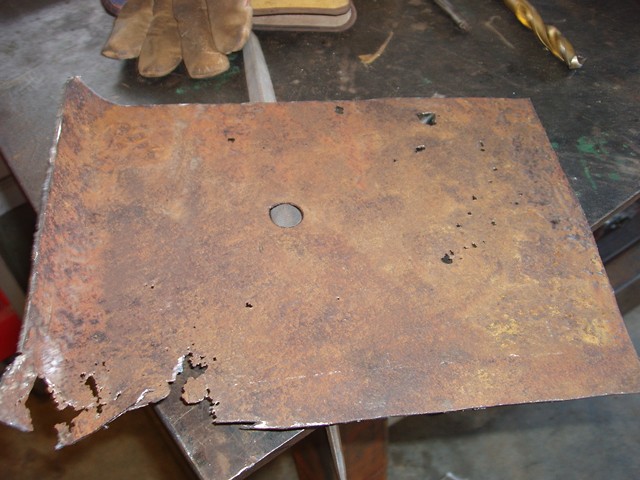
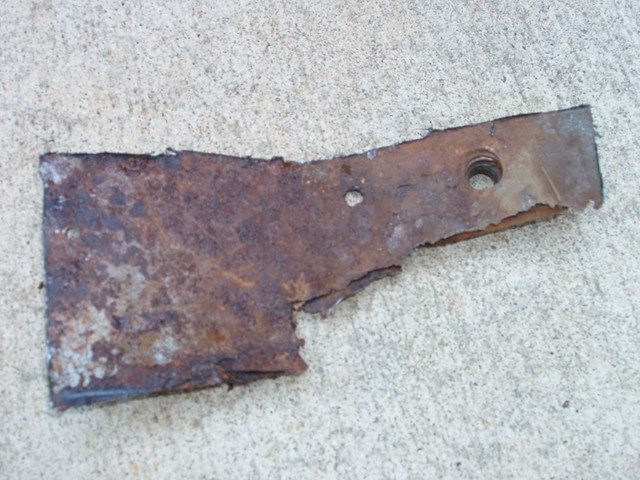
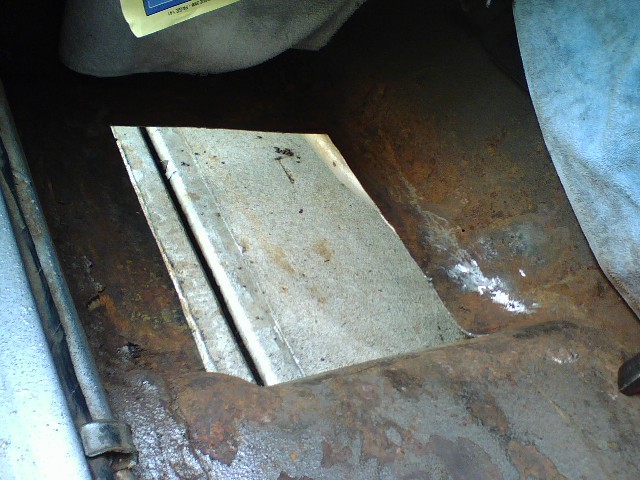
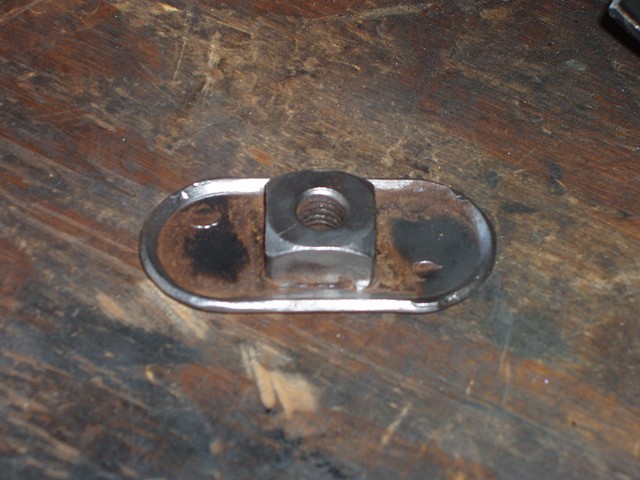
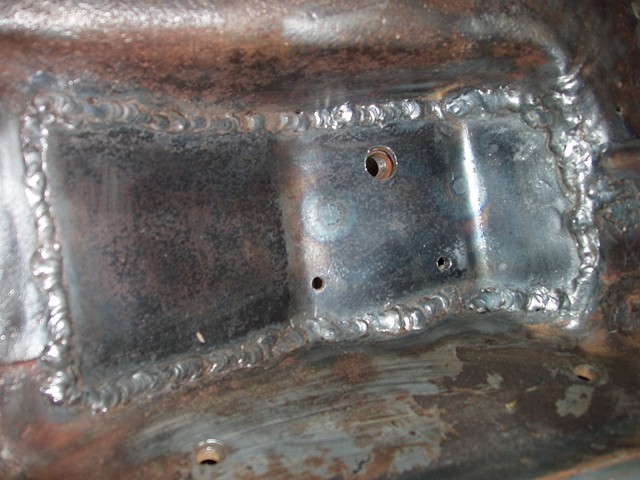
With the rust areas removed, I made identical pieces from sheet metal around the same thickness, bent them to match the originals, and drilled the appropriate holes. Before welding the seat belt pocket into place, I welded the old seat belt nut to the bottom.
With all the replacement parts prepared, I used a floor jack to raise each one into position, and then welded them in place.
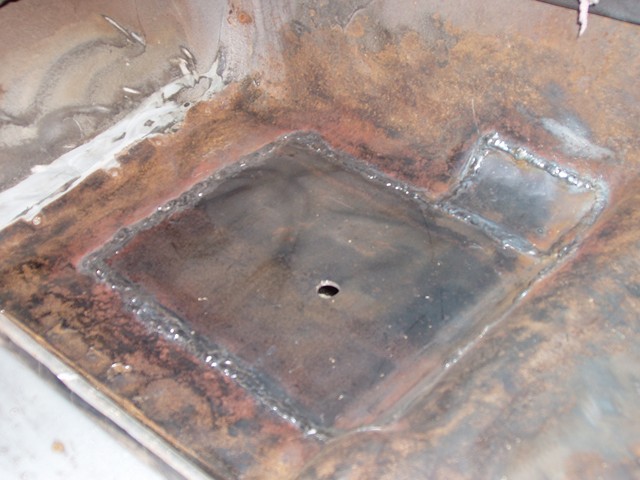
To make sure it is well sealed, I used
Bondo Body Filler around the edges and then prepared the area for painting.

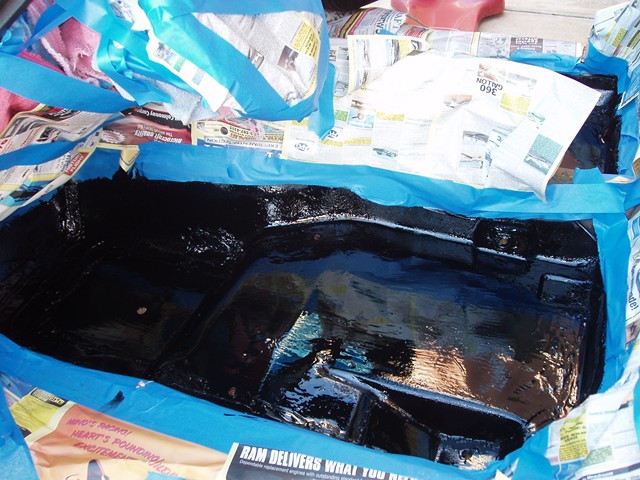
I started out painting it with a strong durable glossy black paint and then went over it with a truck bed under coating covering both the top and bottom of the floor pan.
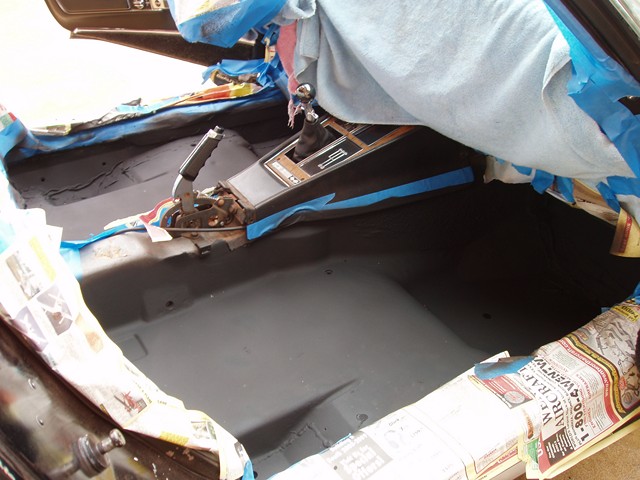
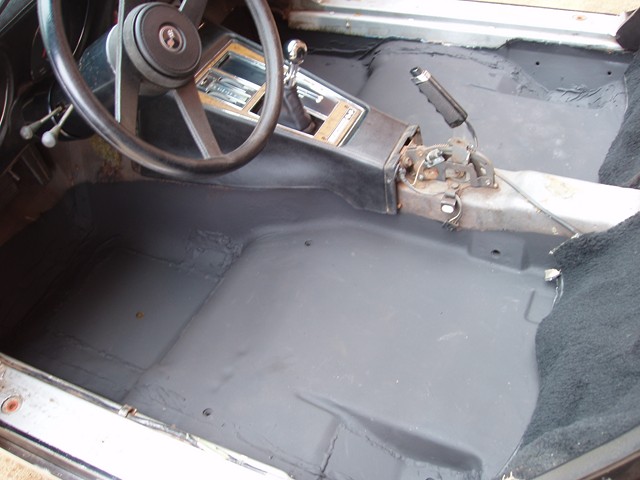
All in all everything went well. These repairs were relatively inexpensive when compared to a remanufactured floor pan costing around $300 apiece. My only regret for this project is that I did not install any sound/heat-proofing while I had everything taken apart. Guess that will have to be a different project.
Update: Sound Proofing the 1976 Corvette is Completed.
Have a Question About This Article? Ask It Here!